top of page

Advanced maps
Section 4
Terrain editingThis section is about advanced terrain tool usage.In the tool list, you can see the VertexEditing Tool first.
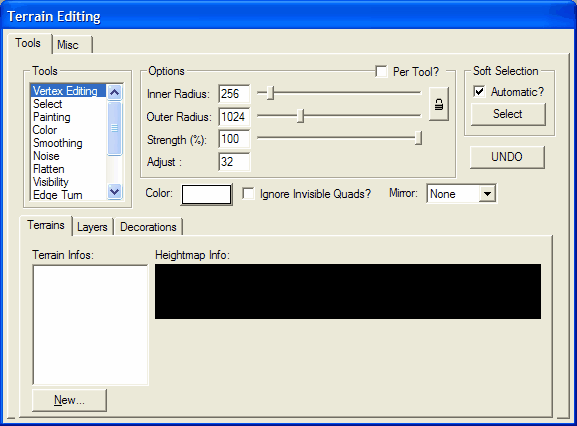
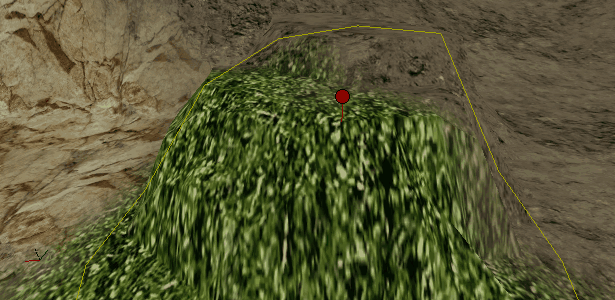
In the editor window you can see the editing radius and a red knot, which can be seen in the middle, so that you can orient yourself when designing the terrain.
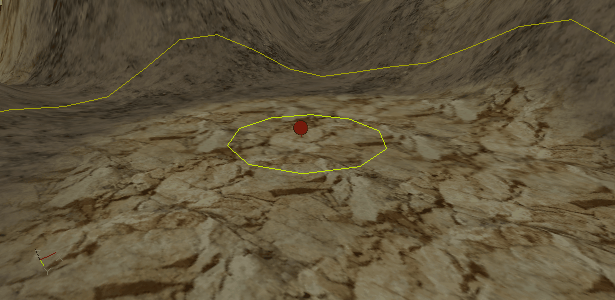
By pressing the left mouse button on the terrain one sees with the VertexEditing Tool, a certain number of white knots, one goes with the red knot on a white knot and holds the left mouse button and moves the mouse up or down around the terrain To increase or decrease this white knot, the yellow radius circles determine the size of the working surface on the terrine.
VertexEditing Tool:
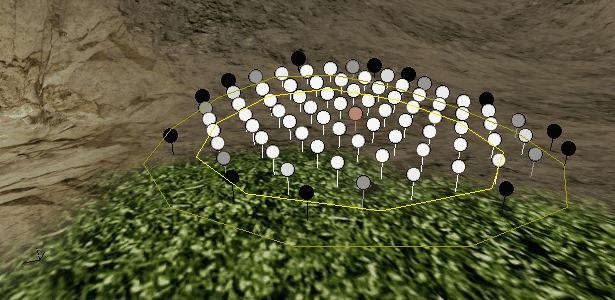
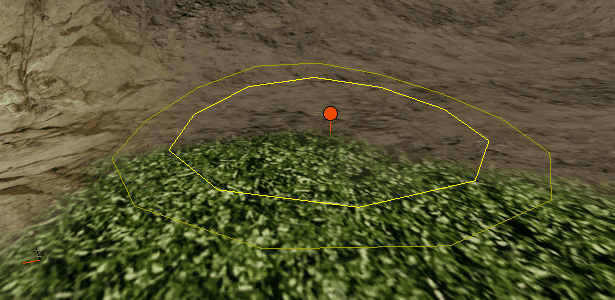
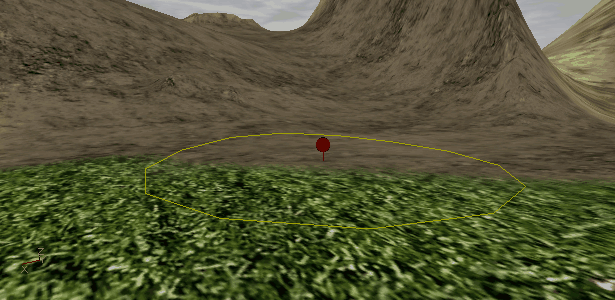
The next tool would be Painting, so you can quickly and easily create hills and mountains, the difference between VertexEditing and Painting is that when editing with the VertexEditing tool, the mountains are not square and pointed, as happens with the painting toolbut with the painting tool you can create more sharp and other bumps.Here in this picture, you can see how the painting tool works.
Painting Tool:
With the smoothing tool, you can smooth out bumps or pointed hills or correct stucco suspicious areas again so that a smoother surface is created.
Smoothing Tool:
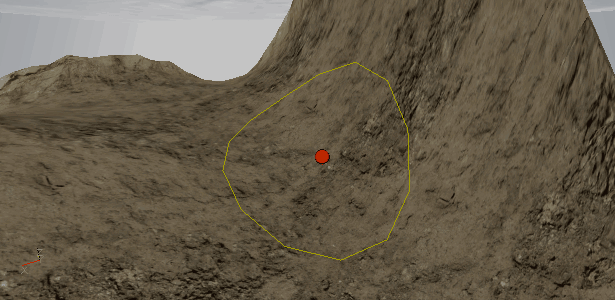
With the tool, Noise, it is possible to convert a smooth surface in a wrinkled or uneven surface.It is displayed in this picture.
Noise Tool:
With the tool, Noise, it is possible to convert a smooth surface in a wrinkled or uneven surface.It is displayed in this picture.
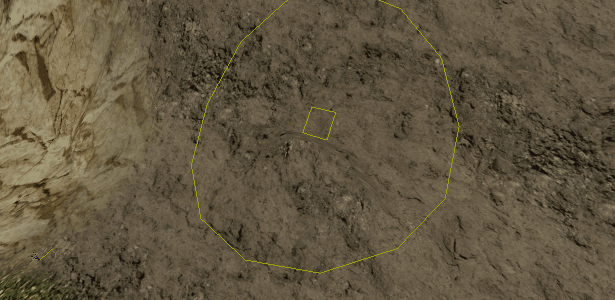
Flatten Tool:
The last tool explained in this section is the Visibility tool, so it is possible to cut holes out, for example. to realize caves or bulges.
Visibility Tool:
This Tutorial is made and written by VirtualArea alias L.,R. - All rights reserved.
-----------------------------------------------------------------------------------------------------------------------------
bottom of page